App Screen 2 (UI + Backend Integration)
In my previous post I integrated First screen of my app Whiteboard with back-end code. Check it out App Screen 1 UI+Backend Integration.
In this post I am going to tell you how I integrated UI of 2nd screen of my app with database and back-end.
Group chat
As I told in my previous blog that first screen or the main feature of my app is drawing on a canvas and other users may see that in real time. The next main feature is that users be able to share their thoughts and exchange messages through group chat.
UI
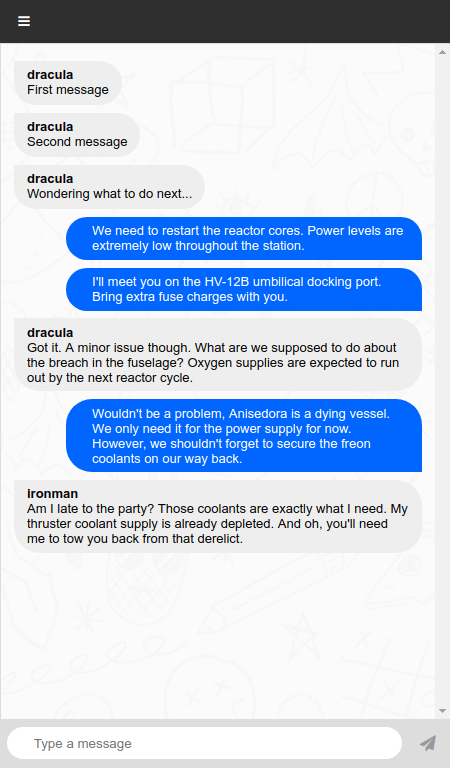
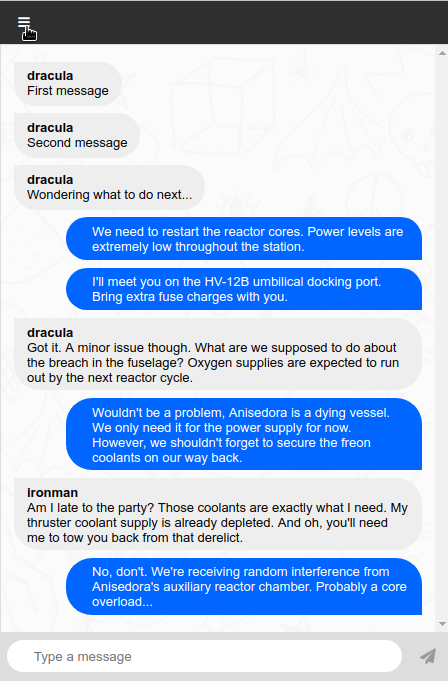
User interface for group chat is same as shown in the picture. It contains only basic features for now. Will add more feature such as time of the message.
As shown in picture, there are two types of chat bubbles. One with the gray background is for group members, as their username is also present in there. The other one with blue background is for you (the logged in user).
When the page is loaded or refreshed, all message from the current active group are loaded in the chat window from database.


Sending a message
Below the chat window, there is an input field to write new message and a send button. Click on the input field in order to type a new message. Although it is focused by default when you open the app. Type some message in there and click on the send button or you can press enter.
It will add the message in the chat window immediately. In the back-end, whenever a new message send event is emitted, it send the message data along with the user_id to server, from where it sent to all other users of group and also an entry in the messages table of database.
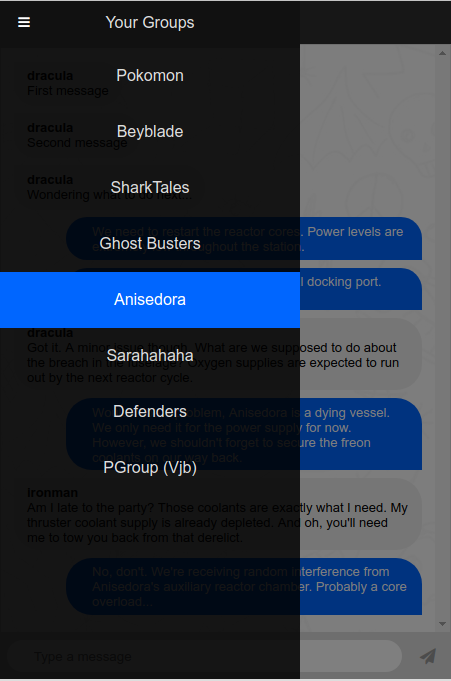
Side nav
On the top left corner, there is a button with bars. Clicking on that will open a side navigation bar.
On the navigation bar, name of all groups in which you are present are shown. No more information other than name of group is shown. Things need to be added here are number of unread messages in the group and also the group active recently or maybe sorted with alphabetical order and the username or name of the user along with their message as a preview.
You can switch between groups by just clicking on the group’s name. On this event, page refresh internally and messages in the chat window is replaced with the messages of current selected group.
This is it.


Comments
Post a Comment